Slow motion allows your audience to see and appreciate the details of a shot by playing it more slowly than you’d experience in real life. For example, in a dramatic film you might see a character’s reaction filmed in slow motion so the audience can see their emotions in detail. At the other end of the spectrum, you might see slow motion used to highlight funny dog fails.

When filming with the Movi app, you have the option to film in a variety of slow motion speeds. Before we talk about how to capture slow motion footage, you need to know about frame rates. Frame rates are the amount of frames captured per second. Every video you see is comprised of a series of images or frames with the standard video either being 25 or 30 frames per second (fps).
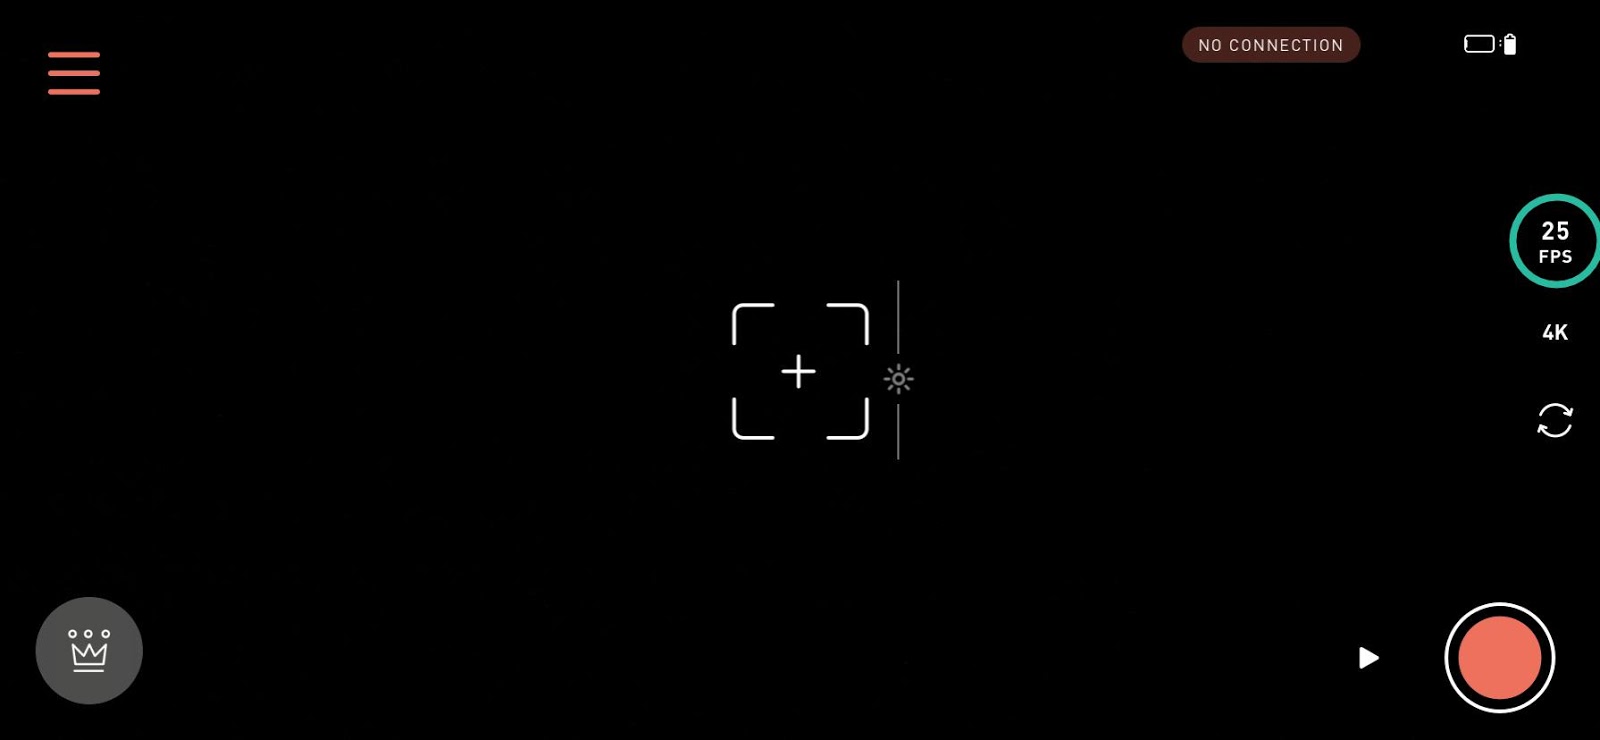
You can see what frame rate is being filmed on the right hand side of the screen (we’ve circled in green in the image below).
Clicking on the frame rate icon will allow you to toggle between these options. Every video is made up of a series of frames or images played in rapid succession. The speed in which each image appears is known as the frame rate. The most common frame rates for videos is 25 fps, or 30fps.
-
25fps / 30fps - This is one of the most common frame rates you will watch video in. Film in one of these 3 when you are not looking at recording slow motion. You will either have 25fps or 30fps depending on the region you are in.

-
50fps / 60fps - This allows you to slow down your footage in editing at half the speed of real life. This frame rate is available in both 1080p (full HD) and 4K.
If you film in 50fps or 60fps you will need to request that this clip be slowed down by your editor. Remember which clips you are recording in 50fps so you can add those notes in your editing brief.

-
100fps / 120fps - This will slow down your to a quarter of the speed of real life. Unlike when filming in 50fps, your phone will slow down this footage automatically when you view it.

-
200fps / 240fps - This will slow your footage down to an eighth of the speed of real life. Similar to when you film in 100fps, your phone will slow down this footage automatically when you view it. Filming in this frame rate will make your subject look like its frozen in time.

Remember to always record in a bright environments: due to how slow motion is captured, you will need plenty of light to make sure your footage looks good. Poorly lit environments make your footage look grainy. Outdoor environments, and interiors with a lot of natural light work particularly well for filming slow motion.

Reviewing your footage
To view the footage you have shot, open the Photos app on the iPhone. Your phone will automatically slow down the footage you filmed when filming in 100-240fps, leaving the first few seconds in real time and then transitioning to slow motion.

You can edit where you want the slow motion to begin by pressing the Edit button. Drag the bumpers below the video to determine where you want the slow motion to begin and end. If you want the whole clip to be in slow motion, drag both bumpers to the ends of the clip. Press Done when you are finished.

Though you can edit where the slow motion begins and ends on your phone, make sure you have made any adjustments before uploading to the Hub, because your editor won’t have the ability to make those same changes on their end. If in doubt, slow the whole video clip down as this will give your editor the most flexibility when editing.
Have questions or need help? Contact us, we'd love to chat.