Learn how to upload video footage to Shootsta using a smartphone.
Uploading footage to Shootsta with a smartphone follows the same process as how to create a Video Project.
1. Log into Shootsta and create a new video.
Click 'Create Project'.

1) Enter a Project Name. Relevance is key to naming, and a naming convention that will distinguish this project from others in the Hub could really come in handy.
2) Select the type of project you want to create: Video, Podcast, Animation, or Webinar.
2. Transfer Assets to your computer or desktop
With assets saved on your mobile device, the best way to upload the assets to the Shootsta Hub would be to save the assets to your desktop or computer. Airdrop, drag and drop to desktop, save to an online file sharing app, whatever works best to transfer your assets is what we would recommend to do. If you are transferring from an iPhone, we recommend first going into Settings > Photos > Transfer to Mac or PC and then changing the setting to Keep Originals to speed up the transfer process.
3. Upload Assets from computer
Uploading:
1. To upload assets, browse your computer for the assets, along with any audio recordings or still images we’ll need to create your video.
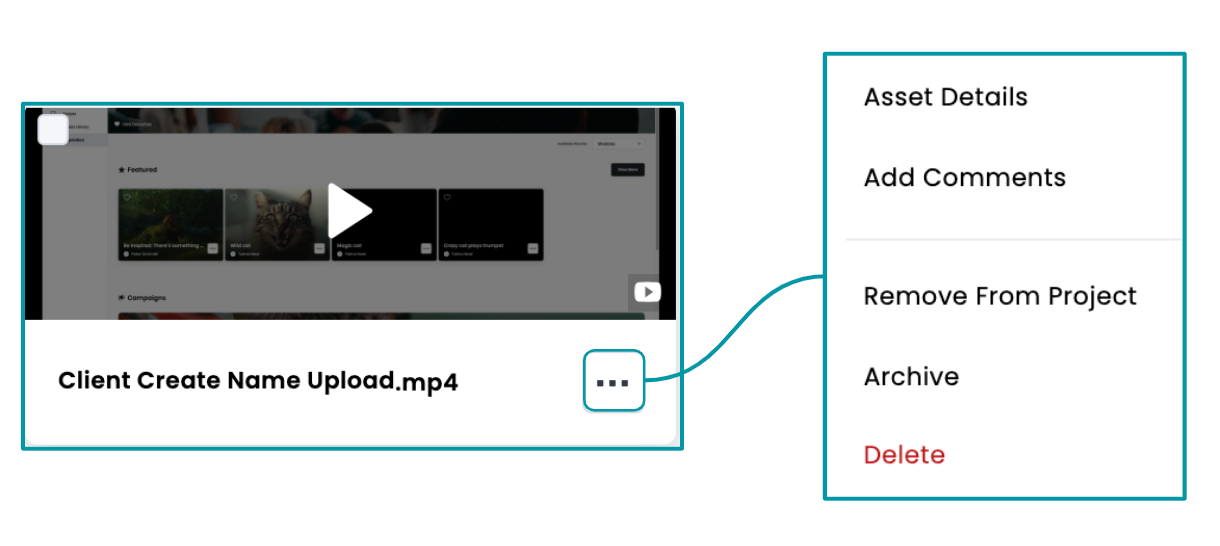
2. Each uploaded asset has the (...) option action dots in the bottom right corner through which you can view details, add comments, remove from project, archive or delete (delete is permanent!). This will allow you to rename your clip via 'View Details'. You can change the filenames of your clips so they are easier to reference when instructing your editor as well as distinguishing the assets in the media library.
Action Dots View:

3. You can also add comments for each clip. Each comment is time-coded. This makes commenting really useful and one of the best ways to communicate what you need to your Editor. Adding a comment with the starting and ending points in the asset that you definitely want included will be really useful information for your Shootsta Editor.
Commenting:
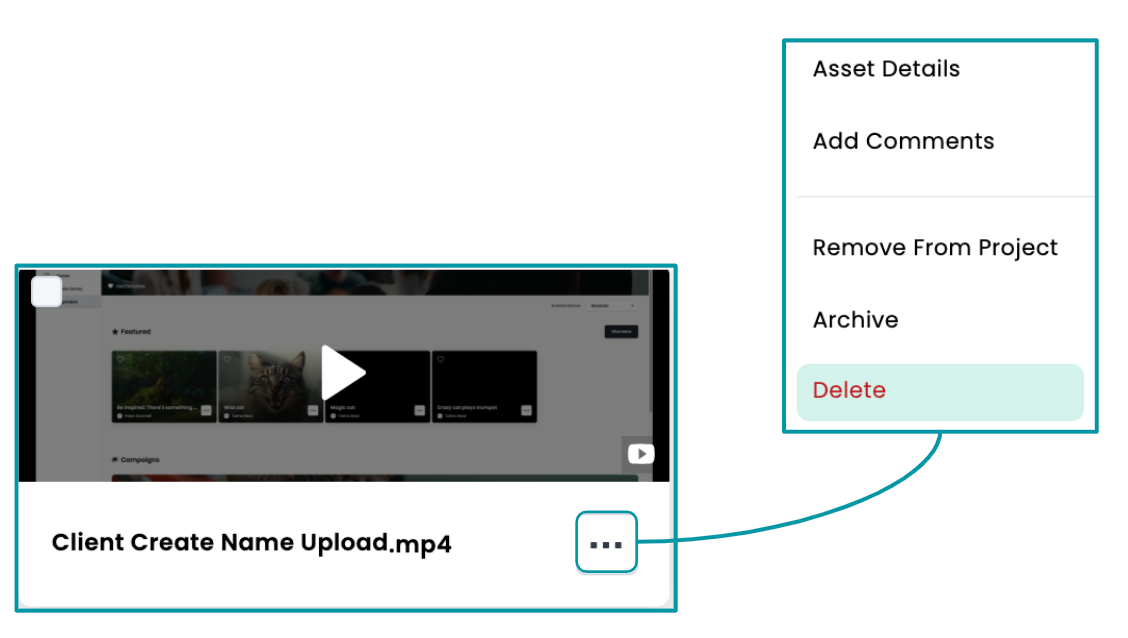
4. You can 'remove from project'/ 'delete' any files you have uploaded in error. 'Remove from Project' will remove the asset from the project, however a record of the asset still remains in the media library. Deleting an asset will delete the record of the asset from the Shootsta Hub and is irreversible!
Action Dots with Delete/ Remove View:

5. Ordering Your Assets is important! You can drag and drop the assets you have uploaded into the order you would like your editor to see them. This will give some context to the order in which you would like your video to be edited. The ordering follows a Left to Right and Top Down sequence.
Ordering:
6. Once you have uploaded, ordered and commented on your clips, click “continue”, bearing in mind that you can return and modify your selections later if you wish.
To ensure your video turnaround time, we recommend you submit up to 25 minutes of footage and 50 files in total. For more details check out What is a Shootsta Video?.
⚠️ Once an upload is completed, the asset will display in the Assets list. However, you can navigate away even prior to upload completion. The Shootsta Hub will continue to upload your files in the background.
7. Save Draft or Follow Through on the Video Submission Process
Now your clips have loaded, you will need to brief your editor, select add-ons, and confirm your selections to submit.
Need help or have questions? Contact us. We'd love to help!
